
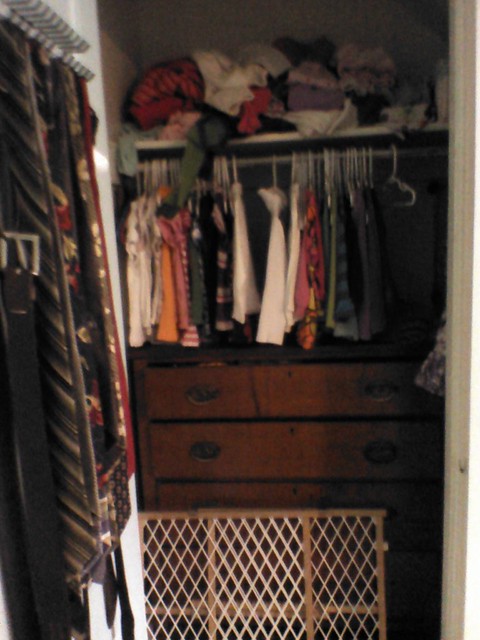
I loaned my camera out over the weekend, so had to make do with Sophia's camera for my closet "before" picture. I think the photo gives you enough blurry detail to see the dysfunctionalness of the kid's closet! Pretty clear why this got on my spring list 'o projects. The whole dresser-in-the-closet thing worked well when there was one kid with tiny clothes, but now that there are two kids with not-so-tiny clothes, we need a real closet.
When I was reading thru my January issue of Better Homes and Gardens, I came across an adjustable-height, adjustable-length second rod for the closet. Exactly what I needed, but at $20 I thought I could do better.
Then I shopped around locally, and found that there were no rods around that fit what I needed . . . time to make one!
Little note here, as this is a project for the kid's closet, and will not be on display (outside of this blog post), I didn't put too much energy into making it look awesome. Function was primary here, as you will see! Not apologizing, just sayin'.
Shopping list:
- 4 foot, 1 1/4 inch diameter dowel
- 2 small S-hooks
- 2 smallish eye screws
- Two 2 1/2 foot lengths of chain (I bought it by the foot, and had them
- Wire
Drill two pilot holes at opposite ends of the dowel, on top. (Cut the dowel down in size first, unless you plan to use the whole length, as I did.) Be sure that your pilot holes are level with each other, or you will end up with a wonky clothes rod! Screw in the eye-screws. Make sure your pilot holes are not too big, or the screws will not be stable enough to hold anything up!
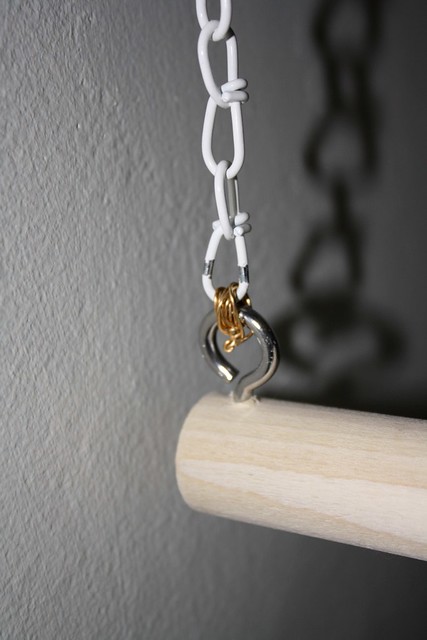
Attach one end of your chain to each eye-screw using sturdy wire. I used jewlery wire because I seem to have lost my mechanic's wire and was too cheap and lazy to go get anything from store.
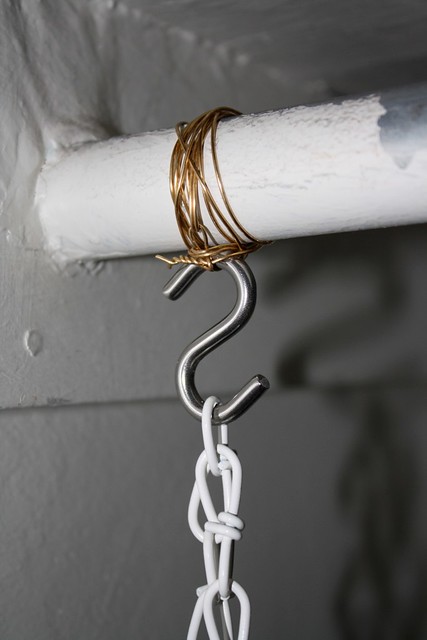
Now make a loop around the upper rod, loose enough to be able to move around, and place your S-hook in it. Attach chain at whatever height you want, adjust at will.
Voila!
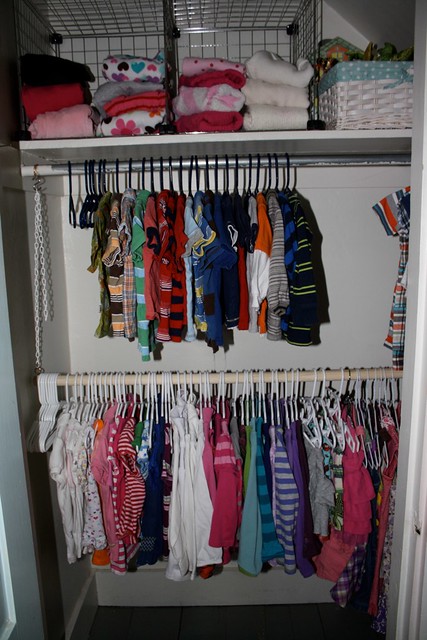
Now Jude's clothes fit as well as Sophia's. I still have their pants, underclothing, and shoes in dressers. And yes, their clothes are organized by sleeve length and color. It helps me function. Don't knock it till you've tried it . . .
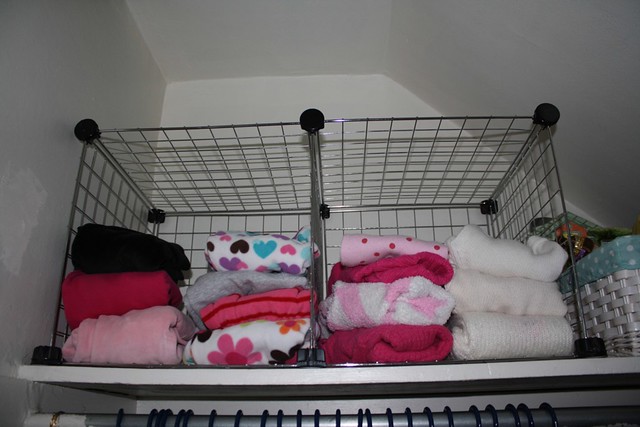
I used half of an adjustable wire rack that was already in the closet (to the right of the dresser, if you can believe it!) to store Sophia's pared down sweaters and sweatshirts.
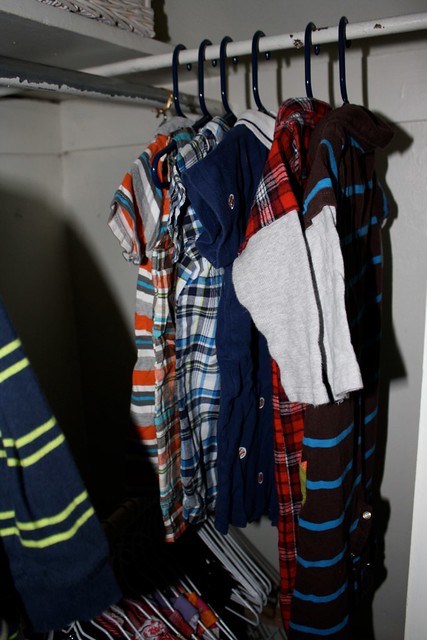
Jude's one-piece outfits fit well on the strange little cross rod the previous owners put in . . .
Push the clothes to the left and you can see that there is plenty of room on the right to store a couple things we aren't currently using.
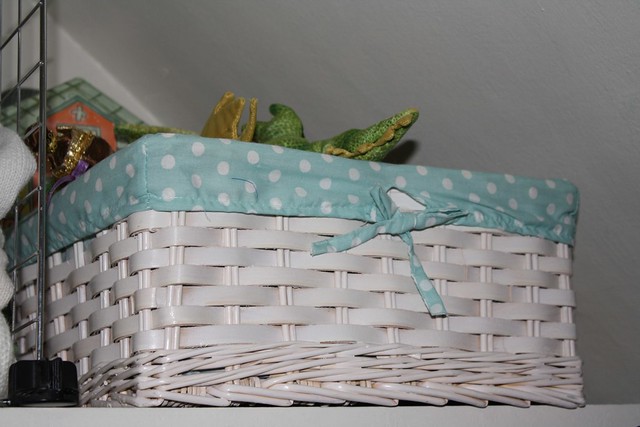
And a little extra room on the shelf next to the sweaters for toys being stored away until later! (Toy rotation, I'll pull them out in a few months and it'll be like they're brand new.)
Sophia is enjoying having a newly organized closet. She pulls out clothes for her and Jude each morning, so if you see her wearing crazy outfits (today was a short sleeved Elmo shirt under a purple summer dress and hoodie sweatshirt with purple fleece pants), now you know why.
Have an organizational need? Inspired Interiors would be happy to help you out! Check us out at www.getinspiredinteriors.com, or give us a call at 207.632.7619.
Happy organizing!
No comments:
Post a Comment