
What to do when a shirt you love is just too short . . . too tight . . . too whatever? Turn it into an infinity scarf! My friend had a shirt that didn't fit right, but she loved the color and fabric, so she came up with this brilliant idea. Together we devised quite a cute little scarf.
We used a jersey knit shirt, but almost any shirt would work, with a little tweaking. Even an old sweater!

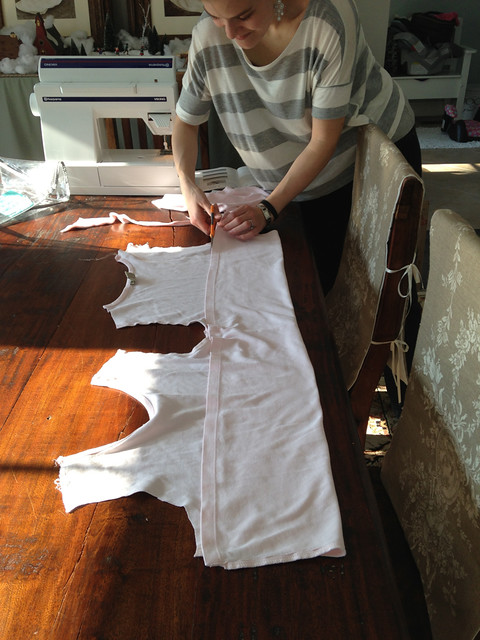
First step . . . disassemble your shirt. Cut off the sleeves as closely to the seam as you can, so as to preserve the most fabric you can. Then cut apart the shoulder seams, and finally cut apart ONE of the side seams.
Cut out the seam of your sleeves, and lay them out flat one on top of the other. Cut the curved edge of the sleeves off so that you have a straight edge. Then cut the angled sides of the sleeves off so that the whole piece of fabric is the same width as the wrist cuff portion of the sleeve.
In the picture above, the sleeves are at the bottom, fully prepped as described above, and the shirt has the side seam toward the top of the picture cut off.
Important note for this tutorial . . . set aside any Type A tendencies you may have, this does NOT need to be perfect to be cute!
Unfold your shirt so that it is laying open, and fold the bottom up to the armpit. See how the folding is not perfect? That's okay! Now cut the bottom off, using the bottom of the shirt as your marker. See how I am cutting along that line? If your shirt is long enough, you can cut off the bottom hem so your scarf is less bulky . . . my friend is quite petite and the shirt was small, so we decided to leave the hem on to maximize the finished width of the scarf.
Set aside the torso portion of the shirt, and sew the sleeves together on the long side, right sides of the fabric together. Be sure to use a zig-zag stitch for knits if you are using a regular sewing machine so that it will have some stretch and give. If you have a serger, bonus! Serge away! It's fine if you don't have one, it will turn out just fine with a nice zig-zag stitch.

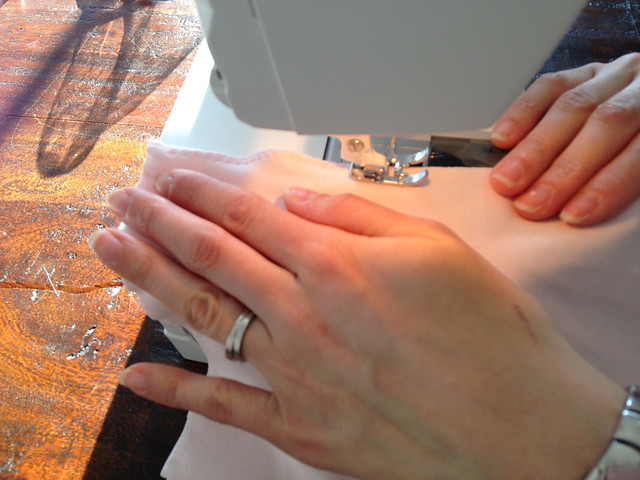
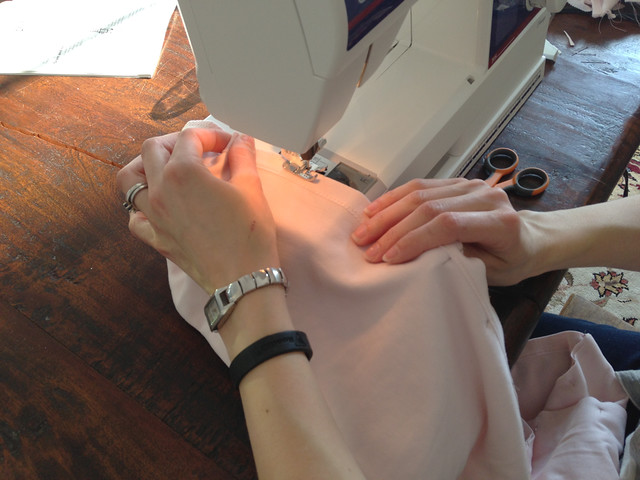
Now move back to your torso length of fabric. Find the middle of the short end (by folding it in half as you see me doing above), and match up the seam of the arms to the middle of the torso fabric. Pin the two together. The sewn together arms will most likely be wider than the torso portion. That's okay, we'll address it later. (Good grief, why can't I ever have patients with veins that POP like that? That sucker is just begging for an IV!)

See? Center of arms to center of torso portion. Pin every couple inches along the whole width.
Sew the two fabric pieces together, again using zig-zag. (I won't insult your craftiness intelligence by reminding you again . . . it will be zig-zag thru the whole project.)

Now lay your sewn fabric down, wider portion on the bottom, narrower portion laying on top. Cut off the extra on both sides. (Try to find a pair of scissors that are large than kiddie crafters . . . ) Now you have one nice loooong piece of fabric. Ours was 56 inches.

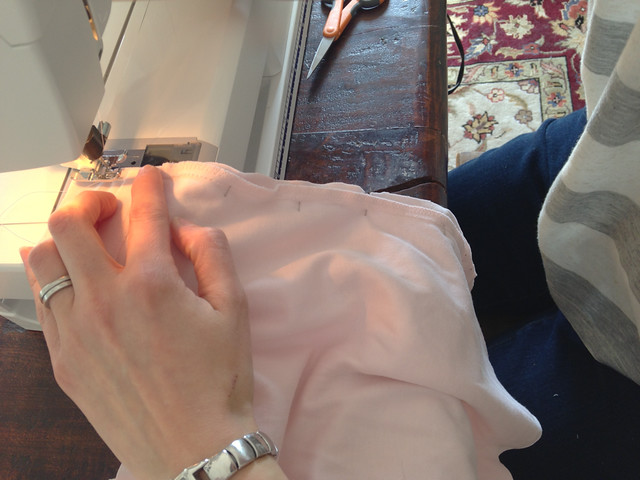
Fold fabric in half along the length, right sides together, matching up edges. Pin.
Pinning!
Sew together on the long side . . . using what stitch? Yup!
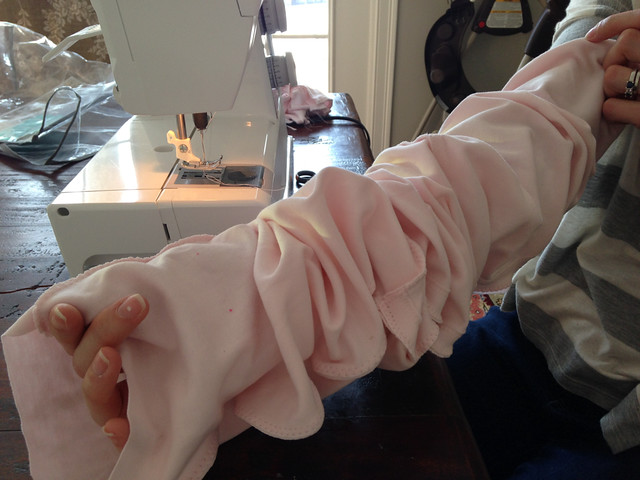
Tie off your thread so that the stitches won't fray, and pull the tube of fabric onto your arm.

Keeping a grip on the bottom edge, pull the top (part up by my elbow) down over it. Now your scarf is right side out.
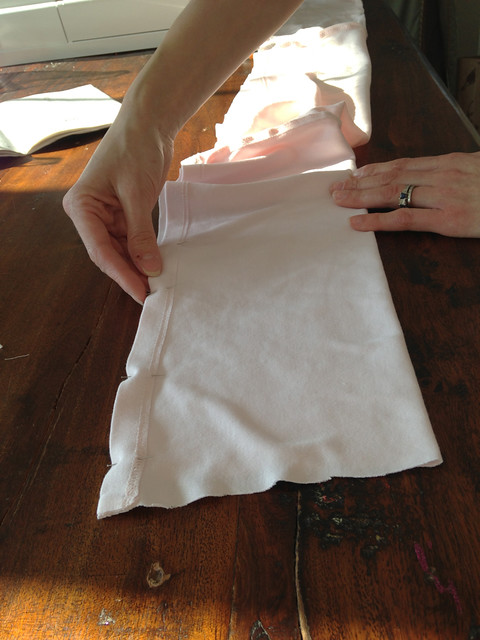
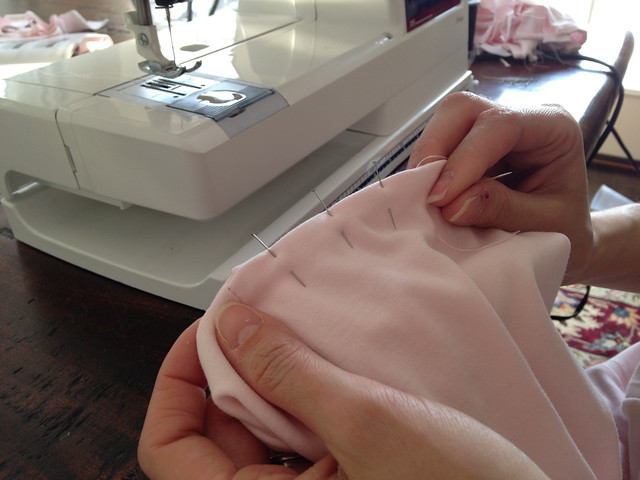
Making sure your scarf is not twisted, line up the two unfinished edges. You will sew them together part-way on the machine, and then finish by hand.
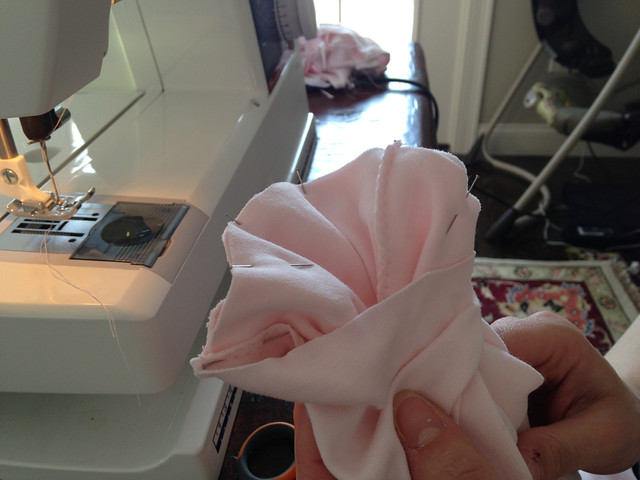
Pin the right sides together as far as you can . . . it will end up looking something like this. You will be able to pin 2/3 - 3/4 of the unfinished edges together, depending on how bulky your fabric is.
Sew the pinned edges together, and then tie off the strings where you started and stopped on the machine. You don't want your scarf to fall apart!

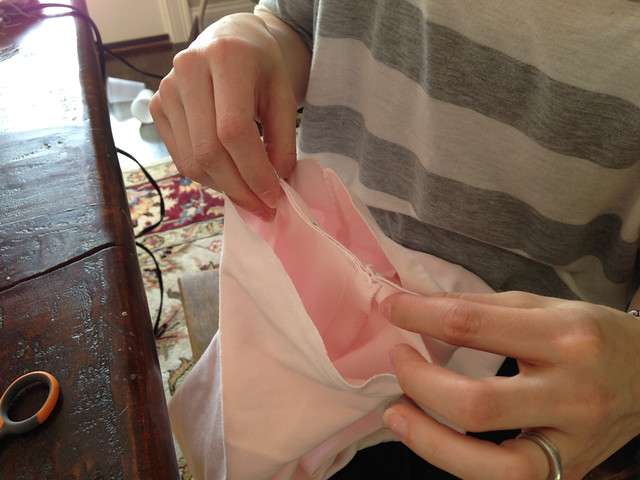
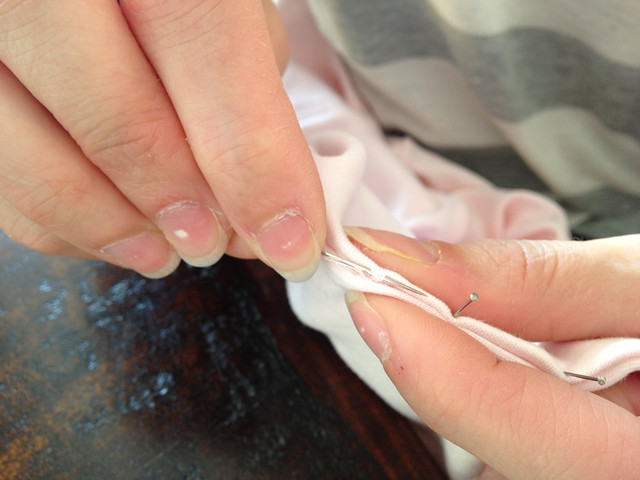
Now you will have a little gap that looks something like this . . .
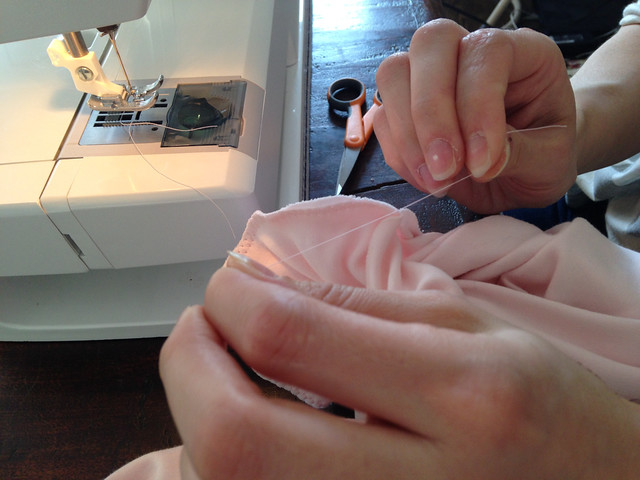
Fold the edges to the inside, and pin the hole closed. Thread a needle in coordinating thread, and get ready to do an invisible stitch! Try to find a smaller needle than I had . . . bigger is NOT better when trying to do invisible ladder stitching. At one point I had to bite the needle to pull it thru a bulky spot!
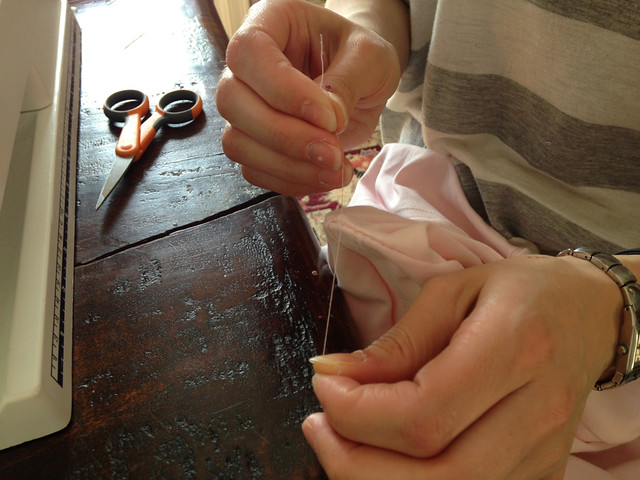
To sew invisible stitches, tie off the end of your thread, and then sew lengthwise thru the fold on one side of the hole with your needle. Pull the needle and thread thru, and sew thru a little of the fabric on the other side, directly across from where your needle came out on the first side. Continue on until the hole is closed. (If you need more of an explanation, watch this tutorial.)
Tie off the end, and voila, you have a new infinity scarf! Iron out any little bumps, and wear!

Look how awesome the finished scarf is!!!(Try not to be distracted by the crown I added, but my hair was NOT done with the intention of being photographed today . . . I tried to find a more discreet "sticker" to put over my hair, but flickr.com only has so many options . . . )
Thanks for coming up with the idea and playing photographer, C . . . we make a good team, but YOU are modeling next time!
Be sure to let me know if you have any questions that need clarification. I want to see pics of any shirt scarves you make! I think a scarf made out of a button down shirt (button left in!) would be so cute . . . wish I hadn't just taken one to Goodwill . . . sew on, people!
No comments:
Post a Comment